
Secure Application Connectivity
![]()
AppGate Applet Support Information
| Browser | ||
| Operating System | Netscape 4.7x | Internet Explorer 5.5 and 6.0 |
| Windows 95/98/98SE | X | X |
| Windows ME | X | X |
| Windows NT | X | X |
| Windows 2000 | X | X |
| Windows XP | - | X1 |
| Linux | X | - |
| Solaris | X | - |
| HP-UX | X | - |
| Mac OS 7+ | - | X2 |
1. Internet Explorer 6.0 only 2. This applet is signed with a self-signed certificate issued by AppGate. | ||
Netscape notes The "write to hosts" file functionality is
not available under Netscape.
Due to a bug in Netscape's Java implementation the Applet will be
restarted whenever the Netscape browser frame that controls the applet is
resized. |
![]()
1. Connect to https://appgate.wcom.com/. Choose the “Connect to the AppGate Server via the AppGate Applet” option located in the center of the web page. This will start the AppGate java applet which you will use to connect to the AppGate server.
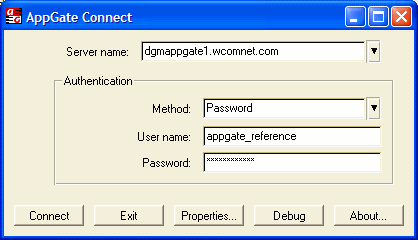
2. You will see the following screen after starting the java applet:

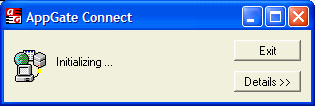
3. You will see an indicator that the applet is connecting to the AppGate server:

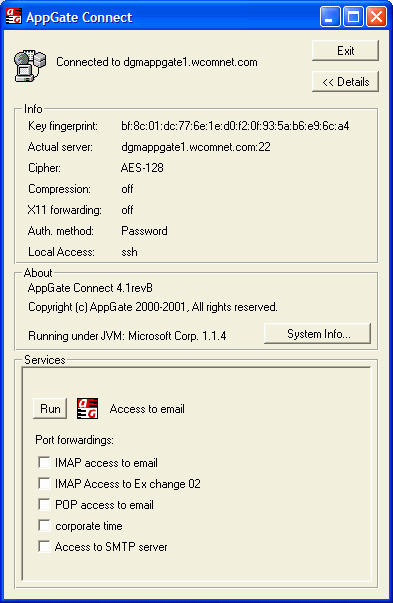
4. Once connected to the AppGate server you will see the following screen:


5. You will now see all of your available access options at the bottom of the applet. Choose the access type you want to enable by selecting the checkbox next to that option. The following example assumes I want to enable POP and SMTP:

6. If you have telnet access you can choose the “Run” command next to your telnet option and a separate window will appear with your telnet login information.
7. Once you have the options chosen you can access the selected resource. If you are using the AppGate web proxy you must go into your web browser properties and use “localhost” and port 80 as your web proxy.
8. Once you have completed all of your work you can simply choose “Exit” from the top of the applet and the client will exit.